Usage
PlasmidProfiler is implemented as a set of tools and a workflow within the Galaxy platform. PlasmidProfiler can be installed within an existing Galaxy infrastructure, or Docker image can be downloaded with both Galaxy and PlasmidProfiler.
Please see the Install guide for more details.
Install
The easiest way to get started is to use Docker. To both install Docker and get PlasmidProfiler, please run:
curl -sSL https://get.docker.com/ | sh # Installs Docker
sudo docker run -t -p 48888:80 phacnml/plasmidprofiler_0_1_6 # Downloads and runs PlasmidProfiler and Galaxy
This will install Docker, download the PlasmidProfiler Galaxy docker image, and run this image in a Docker container. This will take a while to fully download and start up. You may have to start the docker service after installation for Docker to work. This should be a command like sudo service docker start, or sudo systemctl start docker depending on your system. See the Docker Install guide for more details.
Once running, you may log into the PlasmidProfiler Galaxy instance by going to http://localhost:48888 on your machine. This should present you with a screen like the following:
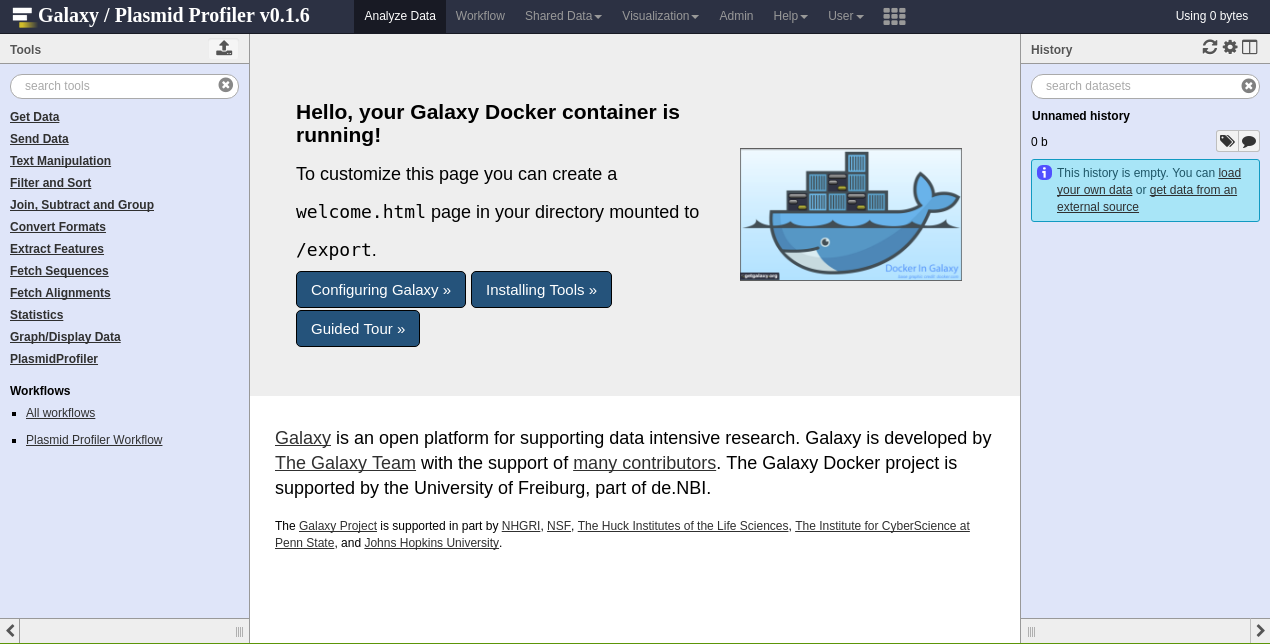
Once Galaxy is started, please login (User > Login) with the credentials admin@galaxy.org and admin.
Note: By default, Docker will not persist any data after it is shutdown. To permanently save information run through PlasmidProfiler/Galaxy with Docker, please see the PlasmidProfiler Docker guide.
Input Data
PlasmidProfiler pipeline takes as input a set of sequence reads, and the included plasmid databases.
Plasmid Databases
The included plasmid databases need to be imported into your current history. This can be accomplished by navigating to Shared Data > Data Libraries in your web browser.
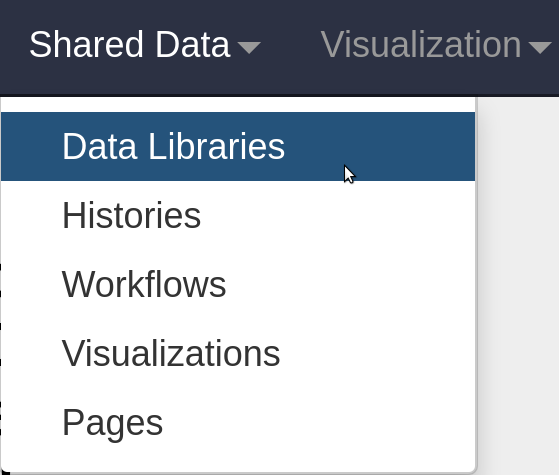
Click on the Plasmid Profiler library. Select the Databases folder and then press "Import to History"

Sequence Reads
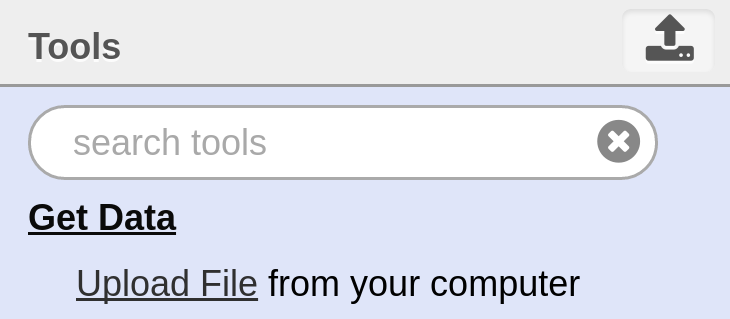
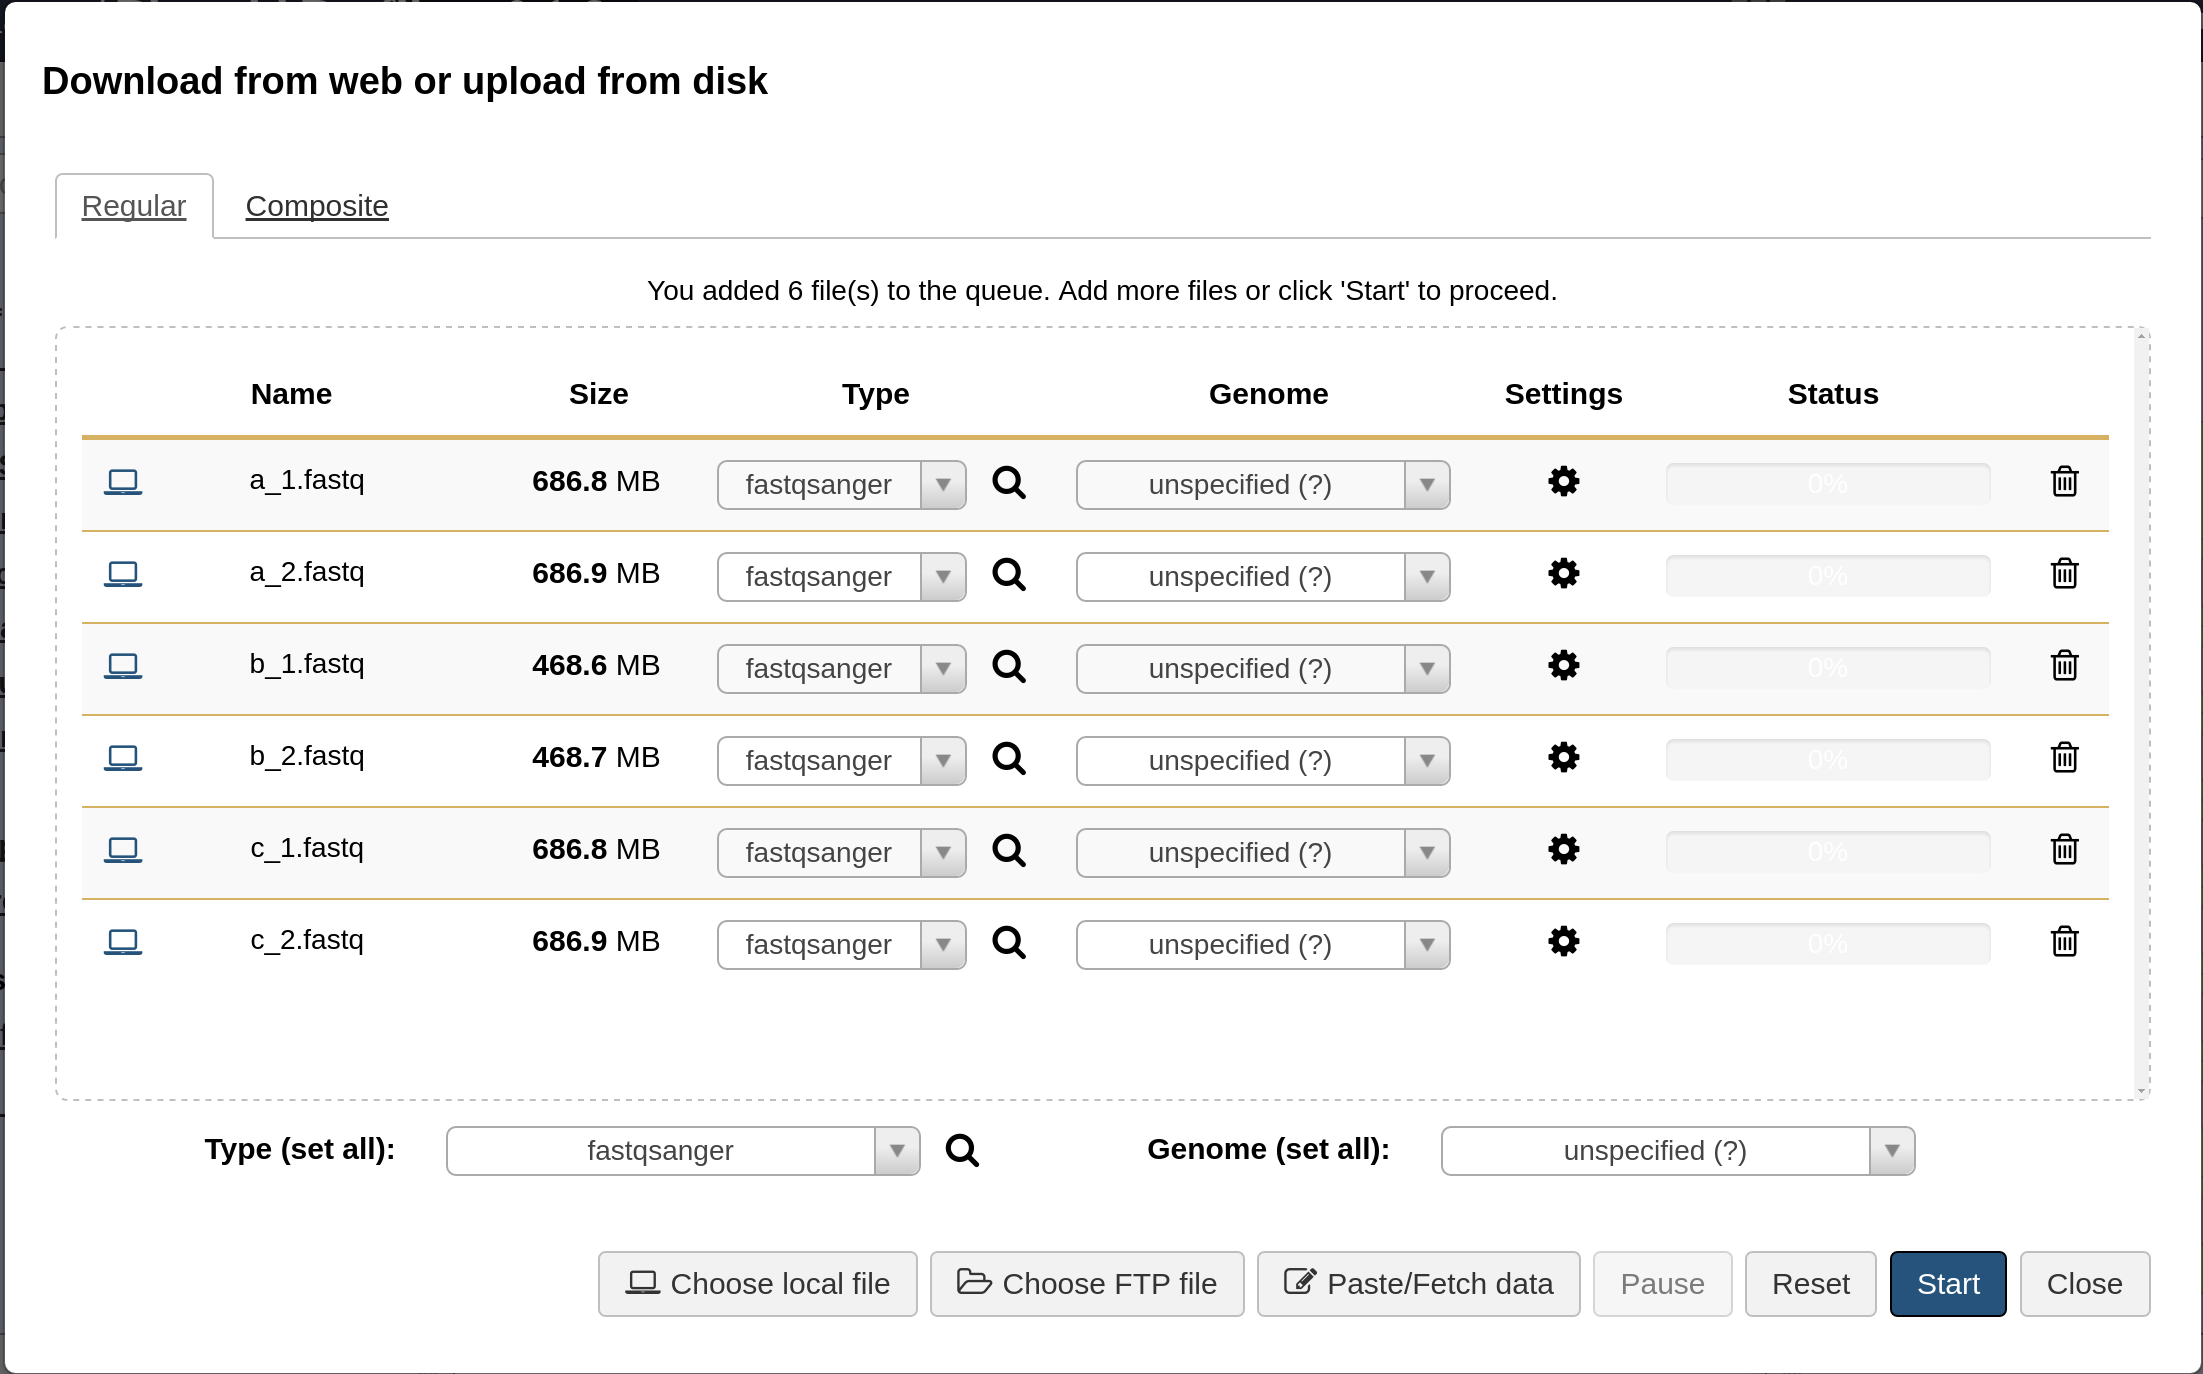
The sequence reads must first be uploaded to the PlasmidProfiler Galaxy instance before it can be used. This can be accomplished by navigating to Get Data > Upload File in your web browser.
This should bring up a window for uploading files to Galaxy.
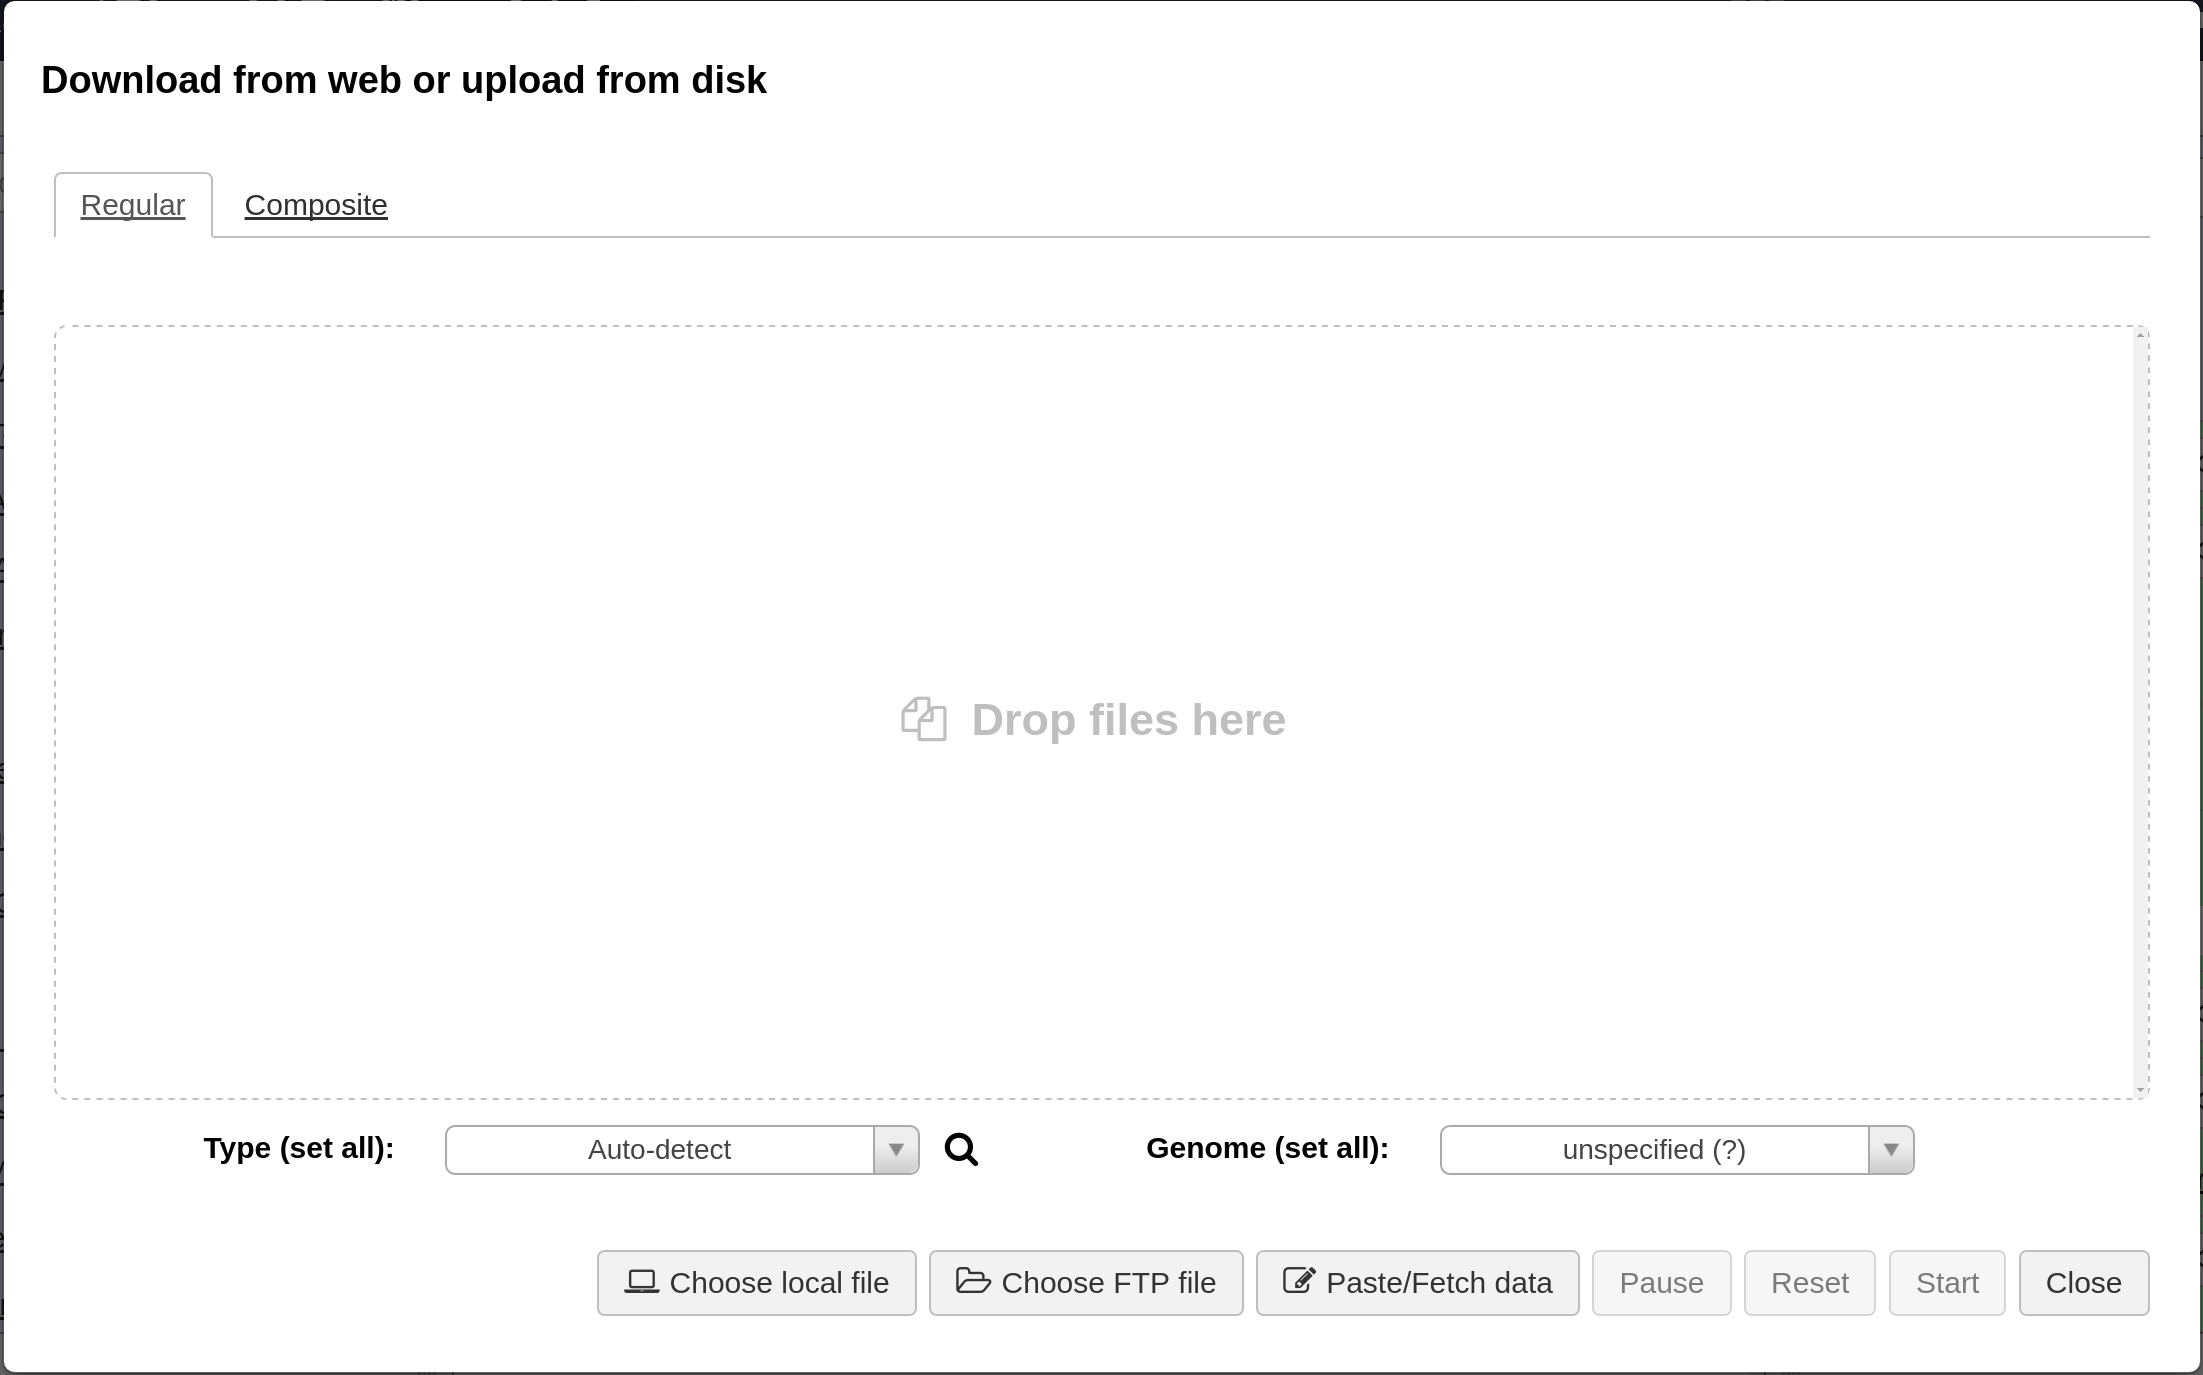
Note: when selecting the fastq files, please make sure the data type is set to fastqsanger. See Preparing Sequence Reads.
Sequence reads should be uploaded to Galaxy in the fastqsanger format. From the upload window, select the all the sequence reads under reads/ and set the type to fastqsanger (Galaxy defaults to type fastq, which is not as useful). This should look like the following.
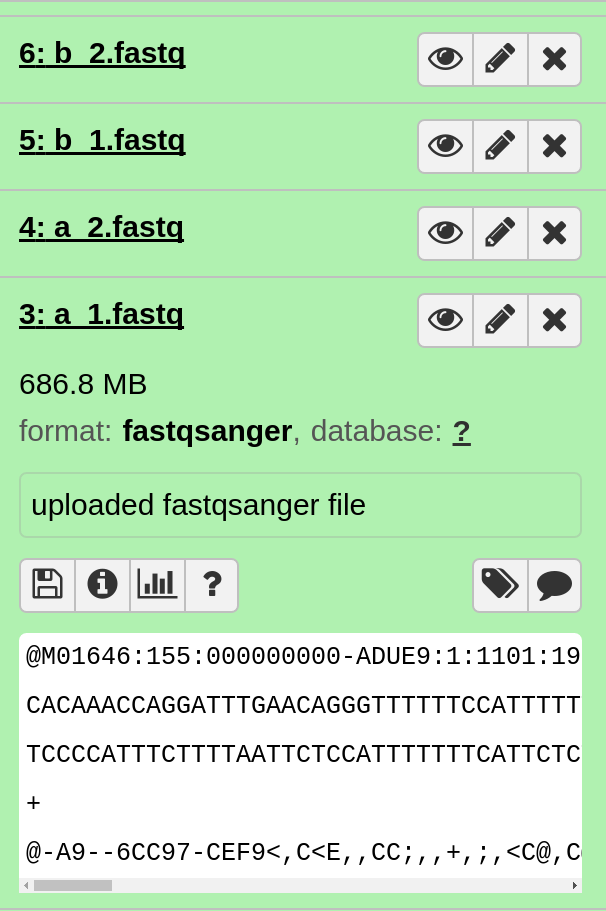
When all the reads are uploaded, you should see the following in your Galaxy history.
Preparing Sequence Reads
Plasmid Profiler makes use of a data structure in Galaxy called Dataset Collections. Dataset collections allow the grouping of files into a single entry in Galaxy to execute in a workflow. The Plasmid Profiler workflow assumes all sequence reads are combined in a paired-end dataset collection, which will properly associated each pair of sequence reads files.
To construct a paired dataset collection of reads in Galaxy, please do the following:
-
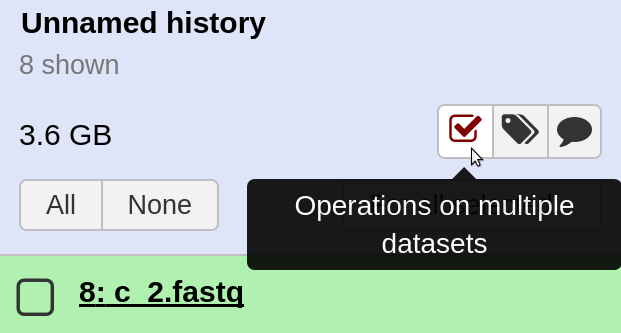
Select the Operate on multiple datasets button in the Galaxy histories panel.
-
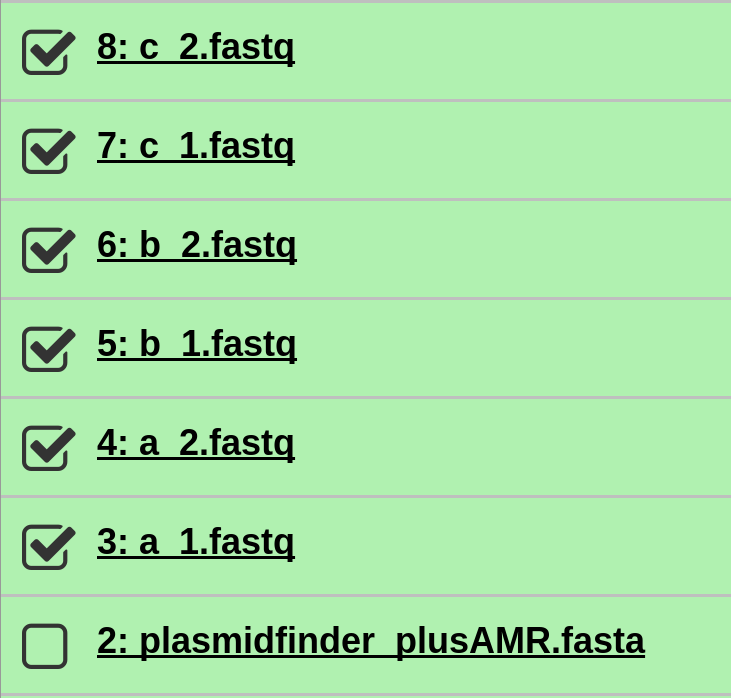
Select all the fastq sequence files.
-
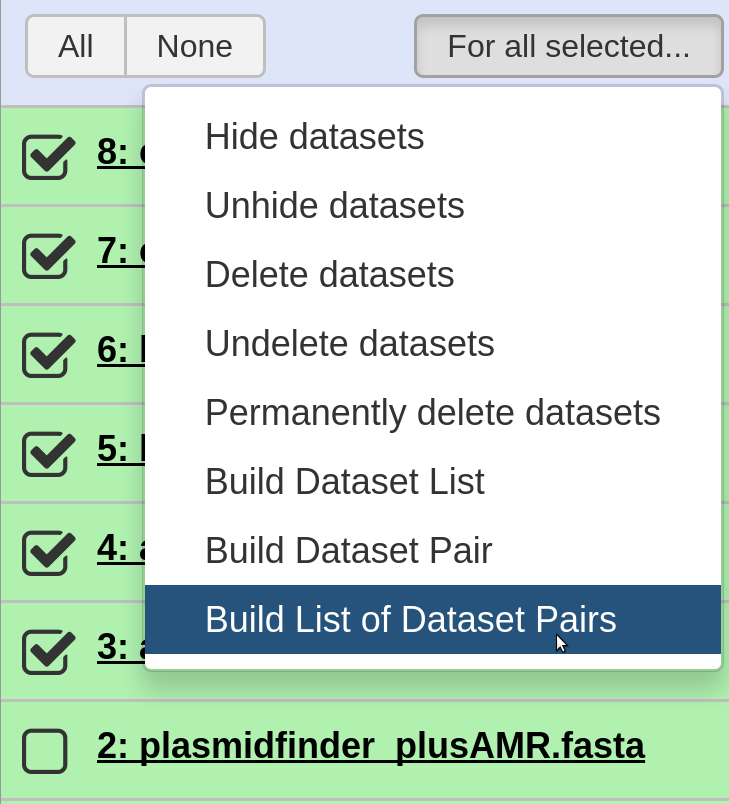
Select For all selected > Build List of Dataset Pairs
-
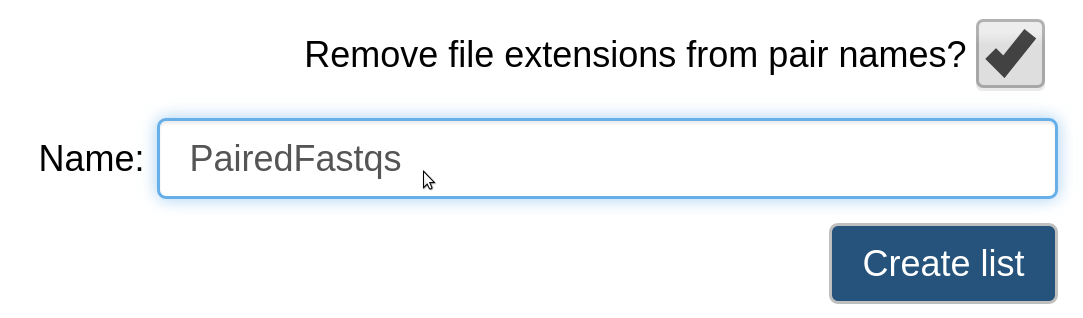
In the screen that follows, all the sequence reads should be automatically paired.

Give the collection of files a name and select Create list.
The set of paired files should appear in your Galaxy history.

Running the Workflow
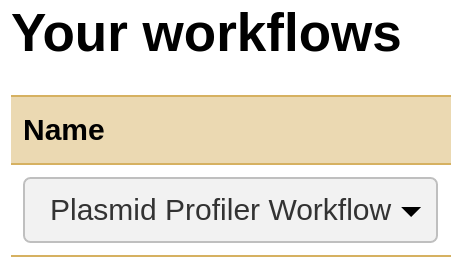
Once all the data has been prepared, the workflow can be run. The installed workflows can be found in the Galaxy Tools panel at the left of the screen.

Near the bottom.
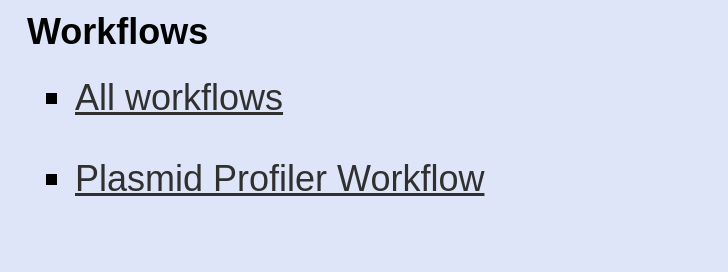
Or, alternatively, by clicking on the Workflow menu at the top 
Parameters
All parameters for each tool can be overridden in Galaxy, but a few key parameters will appear at the top of the parameters page.
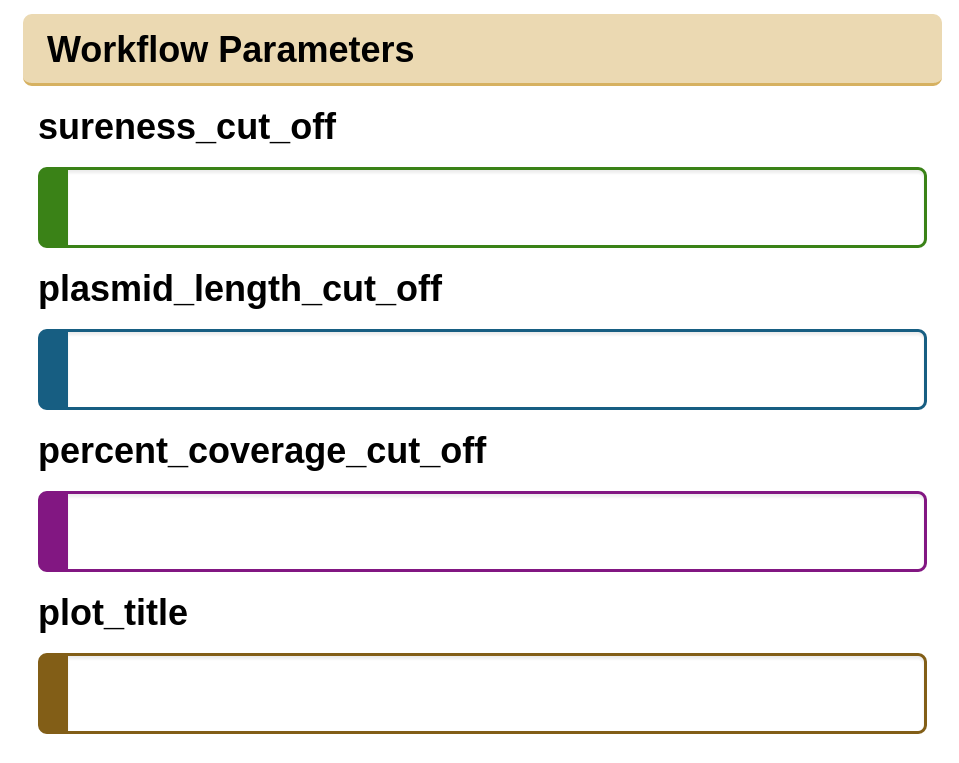
These parameters represent:
-
sureness_cut_off: Sureness is the difference between normalized sequence coverage and divergence. It is a unique measure per dataset that informs the user as to the likelihood the identified plasmid is present in their sample. A value of 0.75 is recommended for a first pass with plasmids scoring above 0.95 to be considered as present in the WGS data. A value of 0 can be entered to disable this parameter.
-
plasmid_length_cut_off: Remove all plasmid sequences below this length from results (eg. 10000) A value of 0 can be entered to disable this parameter.
-
percent_coverage_cut_off: Plasmids with read coverage below this percentage will be excluded from the results (eg. 75) A value of 0 can be entered to disable this parameter.
-
plot_title: Custom plot title for heatmap.
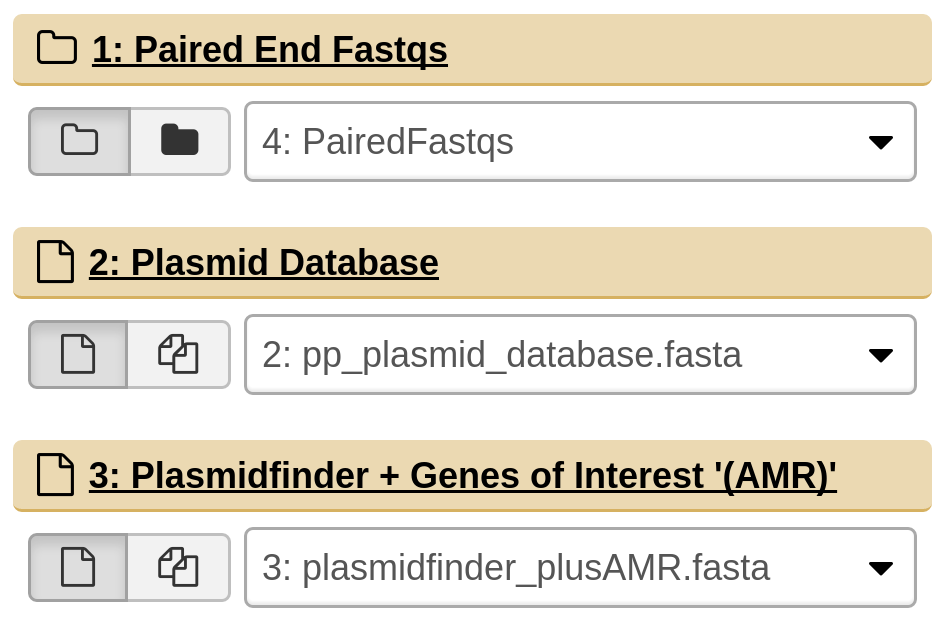
Once parameters are selected, the input files can be selected.
Input files
Galaxy should automatically detect the appropriate input files from the current history for the Paired End Fastqs and the Plasmid Database, however you will need to select the correct file for the Plasmidfinder + APC database. Please verify that it has picked up the correct files.
Run
Once the parameters and input files have been selected, you can run the workflow by clicking the Run workflow at the top of the screen.

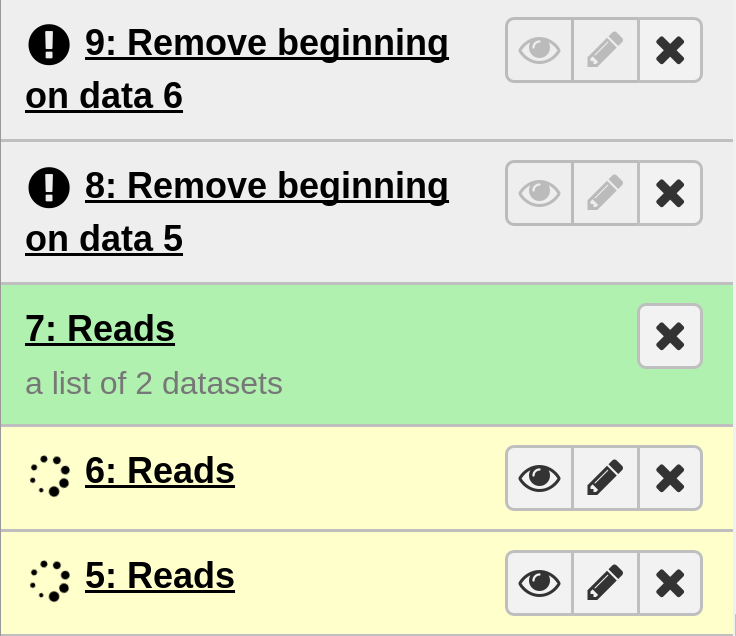
This will start the workflow. You may have to refresh your page to see each step being executed. This should look like:
Results
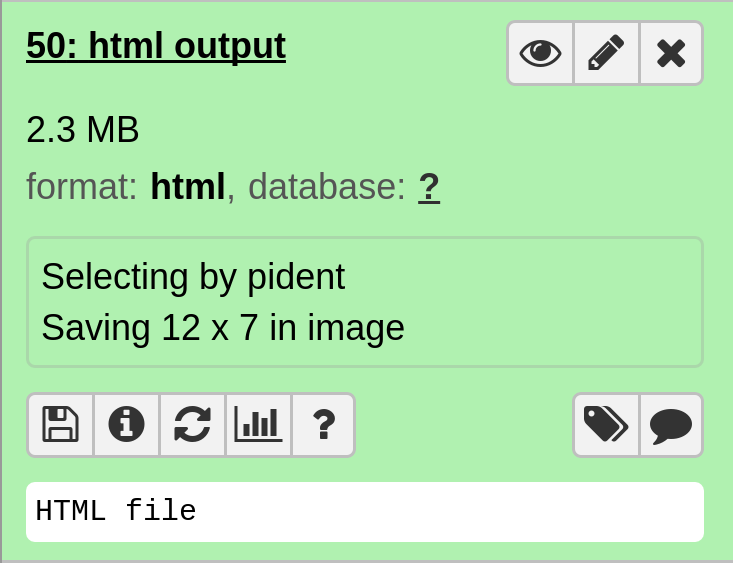
On completion each item in the Galaxy history should show up as green. The very top should contain the main output files.
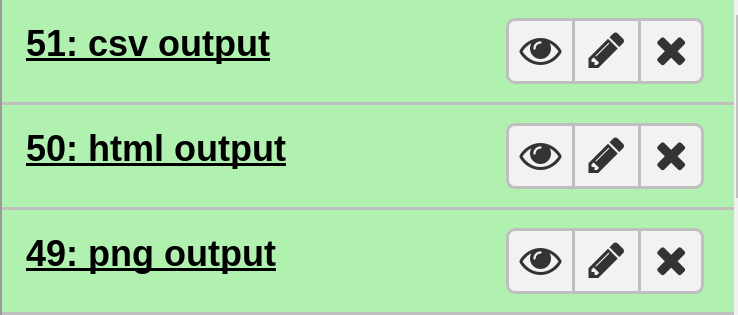
In particular, the file html output contains the interactive plot.
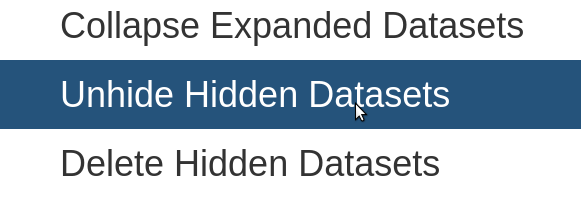
All intermediate files in the workflow can be inspected by first selecting the Galaxy history options.

Then selecting Unhide Hidden Datasets.
For more information about interacting with data from Galaxy, please see the Learn Galaxy page.
Output Manipulation in R
See the Example Section for details on how to use the other package functions in an R environment.